
Books Of The Bible Worksheets have become my secret weapon for turning a quiet Sunday school session into an interactive adventure that kids actually look forward to. I still remember the first time I handed out a printable list of Old Testament books to a group of third‑graders; their eyes lit up as they traced each title, whispered the names of familiar stories, and shouted “Genesis!” when they recognized the beginning. That moment taught me that a well‑crafted worksheet can bridge the gap between ancient text and modern curiosity, making the Bible feel like a living story rather than a dusty history lesson. In this article I’ll share why these worksheets matter, how to pick the perfect ones for any age, creative ways to use them, and even tips for designing your own. By the end, you’ll have a toolbox full of ideas that will keep your students engaged, help them retain biblical knowledge, and make your teaching experience more rewarding.
Why Use Bible Worksheets in the Classroom

Worksheets are more than just paper; they are structured learning experiences that cater to different learning styles. Visual learners benefit from colorful charts and matching activities, while kinesthetic learners love the tactile act of crossing off items on a checklist. Auditory learners can discuss their answers out loud, reinforcing memory through conversation. By offering a printable format, you also give families a tangible resource to continue learning at home, extending the classroom impact beyond the church walls.
Another advantage is assessment. A simple worksheet can reveal who has mastered the order of the books, who struggles with distinguishing between prophetic and historical sections, and who needs a bit more support. Instead of waiting for a quiz, you get instant feedback, allowing you to adjust your lesson plan on the fly. This immediacy keeps the pace lively and prevents frustration from building up.
Finally, worksheets bring a sense of accomplishment. When a child checks off “Exodus” or fills in the missing verse, they experience a small victory that fuels confidence. This positive reinforcement encourages them to dive deeper into the Scriptures, turning passive listeners into active seekers.
Choosing the Right Worksheets for Different Age Groups
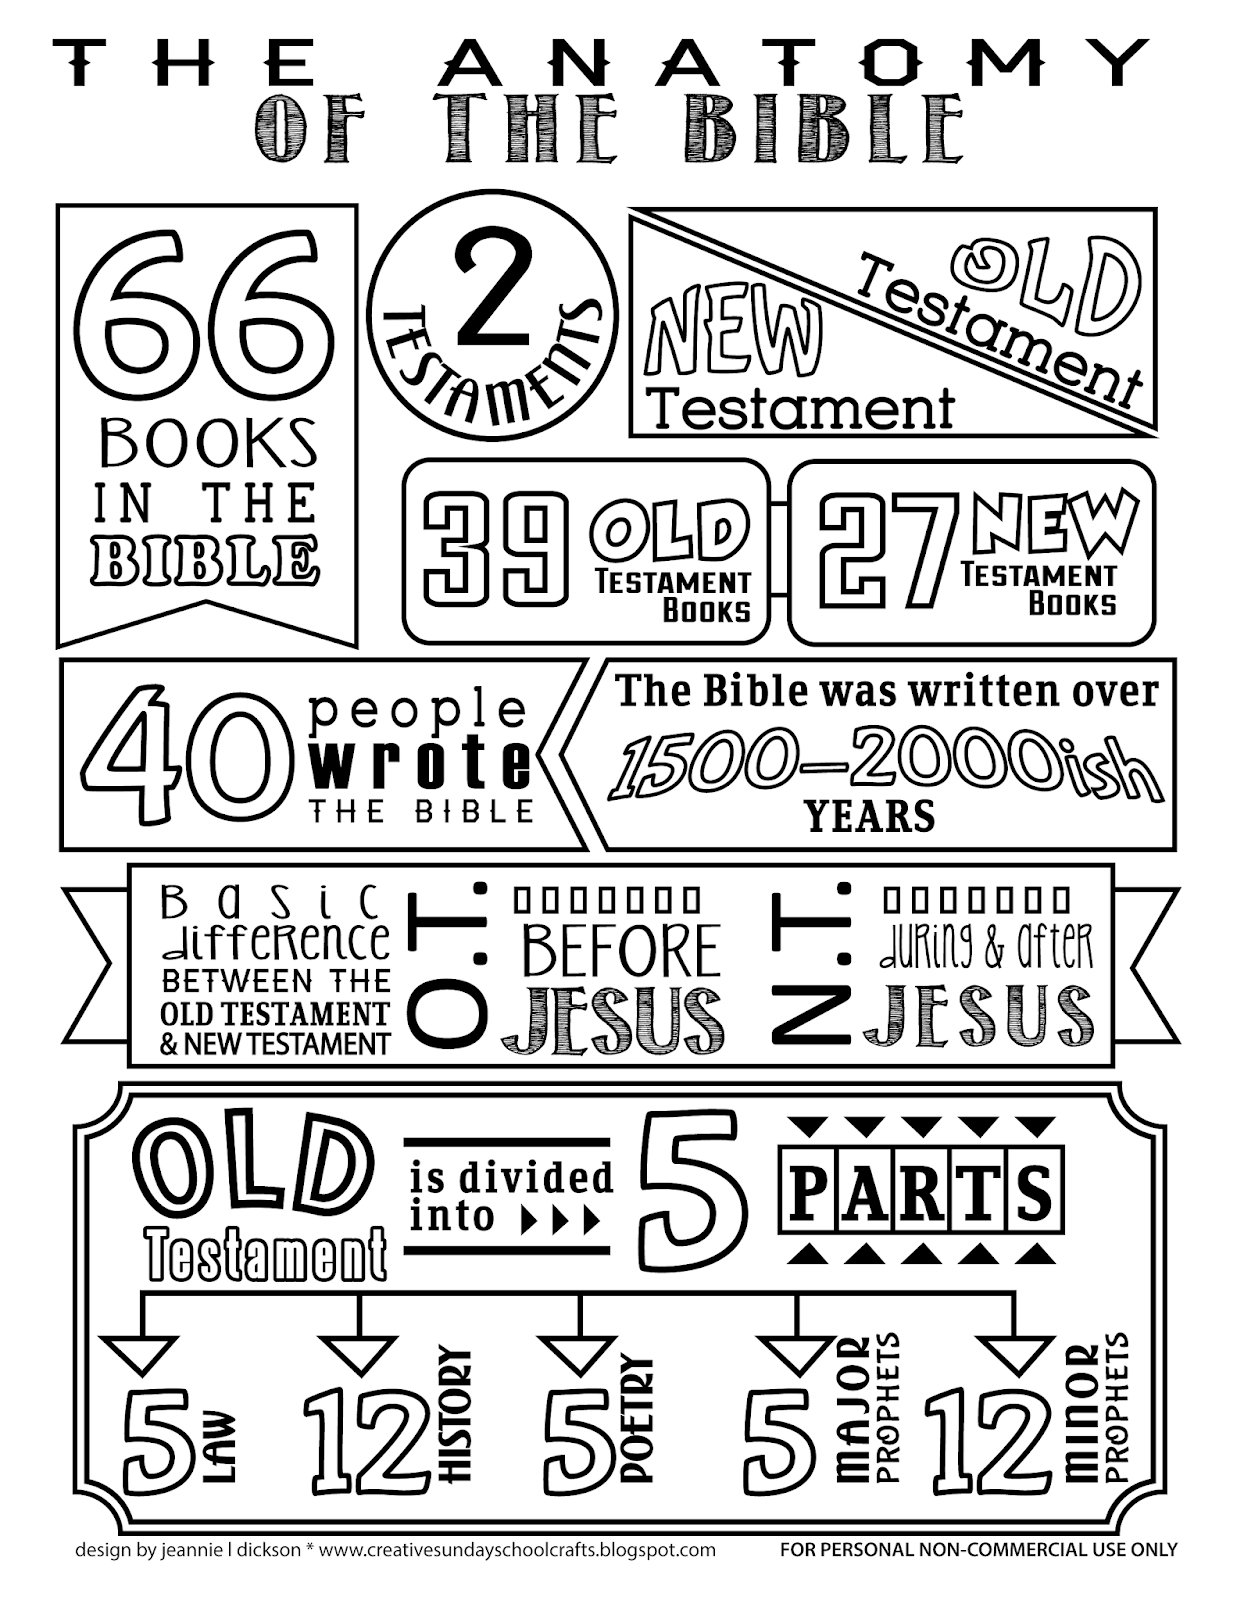
Early Childhood (Ages 4‑7)
Young children need simplicity. Look for worksheets that focus on recognition rather than memorization. Picture‑based matching games, such as pairing a story illustration with the corresponding book title, work wonders. Include large, bold fonts and plenty of white space to avoid overwhelming them. Adding a coloring element—like shading the cover of a book with a favorite color—helps maintain interest while reinforcing the name of the book.
Middle Childhood (Ages 8‑11)
Kids in this bracket are ready for more structure. Crossword puzzles that clue the books of the Bible, fill‑in‑the‑blank timelines, and “order‑the‑books” sequencing activities are perfect. They can handle a moderate level of challenge, and the sense of solving a puzzle appeals to their developing problem‑solving skills. Incorporate short reflection prompts, such as “What lesson did you learn from the story of Jonah?” to connect knowledge with personal application.
Adolescents (Ages 12‑15)
Teenagers crave relevance and depth. Worksheets that ask them to compare themes across books, analyze the literary genre (e.g., poetry vs. narrative), or create a mini‑research project on a lesser‑known prophet will keep them engaged. Include sections for personal journaling, where they can write how a particular book speaks to their own life. This encourages critical thinking and helps them see the Bible as a guide for everyday decisions.
Adults and Youth Leaders
Even adults benefit from structured review. Advanced worksheets can cover the historical context, original languages, and theological significance of each book. Provide space for group discussion questions and encourage participants to lead a brief teaching segment based on their findings. This not only deepens personal study but also equips leaders with material for future classes.
Creative Ways to Use Worksheets

Interactive Stations
Set up multiple “learning stations” around the room, each with a different worksheet focus—one for matching, one for timelines, one for reflection. Rotate small groups every 10‑15 minutes. This keeps movement in the class, reduces monotony, and allows students to approach the material from several angles.
Gamified Learning
Turn worksheets into a game board. Assign point values to each completed activity, and let students earn “faith coins” that can be exchanged for small rewards like stickers or extra recess time. Leaderboards create friendly competition, while the underlying educational content remains the focus.
Family Homework Packs
Send home a packet that includes a worksheet, a brief parent guide, and a family discussion prompt. For example, after completing a “Books of the Bible” sequencing worksheet, families can gather around the kitchen table and talk about which book they’d like to explore together that weekend. This strengthens the home‑church connection and reinforces learning.
Digital Integration
If you have a projector or smart board, display a worksheet on the screen and let students fill it out digitally using tablets. Many printable PDFs can be edited online, allowing real‑time collaboration. This hybrid approach caters to tech‑savvy learners while still providing the tactile satisfaction of writing.
Designing Your Own Worksheets

Creating custom worksheets gives you control over content, difficulty, and visual appeal. Here’s a step‑by‑step guide to help you design worksheets that feel professional yet personal.
Step 1: Define the Learning Objective
Ask yourself, “What do I want my students to know or be able to do after this activity?” Whether it’s memorizing the order of the books, understanding the difference between prophetic and historical books, or applying a biblical principle, a clear objective keeps the worksheet focused.
Step 2: Choose a Format
Decide whether you need a matching activity, a fill‑in‑the‑blank, a crossword, or a reflective journal. The format should align with the age group and the objective. Younger learners thrive on visual match‑ups, while older students benefit from analytical prompts.
Step 3: Gather Content
Collect the necessary information: book titles, short descriptions, key verses, and any relevant images (make sure they are royalty‑free). For a “Books of the Bible” worksheet, you might include a column for the book name, its position in the canon, and a brief one‑sentence summary.
Step 4: Layout and Design
Use a word processor or a free design tool like Canva. Keep the layout clean: ample margins, legible fonts (sans‑serif for younger kids, serif for older learners), and consistent heading styles. Add visual cues—icons for “prophetic,” “wisdom,” or “gospel”—to aid quick recognition.
Step 5: Add Engaging Elements
Incorporate puzzles, color‑by‑number sections, or QR codes that link to a short video about a particular book. These extras turn a plain worksheet into an interactive experience.
Step 6: Test and Revise
Print a draft and run it by a few students or fellow teachers. Observe where they stumble or lose interest, then tweak the difficulty or design accordingly. A brief pilot run saves time and ensures the final product hits the mark.
Tips for Keeping Students Engaged

Even the most beautifully designed worksheet can fall flat if the delivery feels stale. Here are practical strategies to maintain enthusiasm.
Connect to Real‑Life Scenarios
After completing a worksheet on “David’s Psalms,” ask students how they might use a Psalm in a modern prayer or journal entry. Relating ancient text to present‑day life makes the content relevant.
Use Praise and Positive Reinforcement
Celebrate milestones—“You’ve correctly placed all the New Testament books!”—with verbal affirmation, a high‑five, or a small reward. Positive reinforcement encourages repeated effort.
Offer Choice
Give students a selection of worksheets on the same topic but with different formats. Autonomy boosts motivation, and you’ll see which styles resonate most with your group.
Incorporate Movement
Combine worksheets with a “Bible Book Relay.” Teams race to place cut‑out book titles in the correct order on a floor mat. The physical activity reinforces the learning objective while releasing excess energy.
Reflect and Debrief
After each worksheet session, allocate five minutes for a quick debrief. Ask, “What was the most surprising fact you learned?” or “Which book would you like to explore further?” This reflection solidifies memory and guides future lesson planning.
Where to Find Free Printable Worksheets

There are countless online resources offering free, high‑quality Bible worksheets. Look for sites that regularly update their content, provide clear licensing information, and offer a variety of formats. Many Christian education platforms host printable PDFs that can be downloaded instantly. When selecting a source, consider the following criteria:
- Curriculum Alignment: Does the worksheet match the teaching standards of your church or school?
- Age Appropriateness: Ensure the language and difficulty level suit your target group.
- Design Quality: Clear fonts, engaging visuals, and logical layout improve usability.
- Permission for Use: Verify that the material is free for personal and classroom use, avoiding any copyright issues.
Once you’ve identified a reliable source, download the PDFs, organize them by topic or age group, and create a master folder on your computer or cloud storage. This way, you’ll always have a ready‑to‑use library of worksheets at your fingertips.
Conclusion

Incorporating Books Of The Bible Worksheets into your teaching toolkit can transform a static lesson into an interactive journey that resonates with learners of every age. By selecting age‑appropriate materials, employing creative delivery methods, and even designing custom worksheets, you empower students to engage with Scripture in a hands‑on, memorable way. Remember to assess progress, celebrate successes, and connect biblical concepts to everyday life—these practices will deepen understanding and foster a lifelong love for the Word. With the strategies and resources outlined above, you’re now equipped to make Bible study both educational and exhilarating, one worksheet at a time.


